A short teardown instruction to get certain components from larger assemblies.
Switch rockers and bumpers
Switch rockers and bumpers are extracted from Eaton switches (sold at Lowe’s).
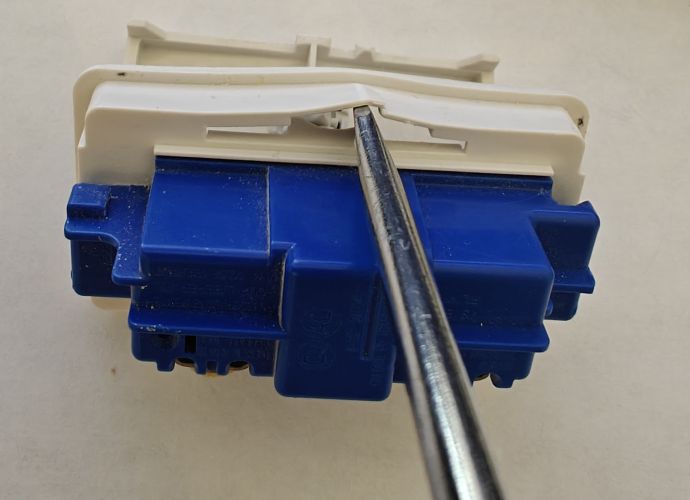
All you need to do is to put a large screwdriver in the side slot and twist it, opening the slot wider.
The rocker will pop out a little, as it is spring-loaded:
 You will need to pull it out the rest of the way. Once the rocker is removed, make sure to pull out the bumpers:
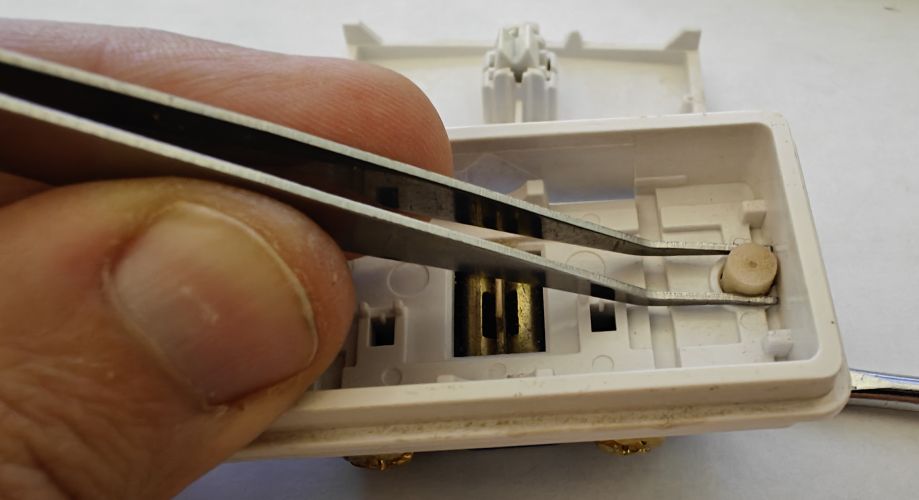 We will use these bumpers as a means to press the switch button.
Central part of the rocker needs to be removed. First remove the spring-loaded center. I like to use small pliers to unpinch it.
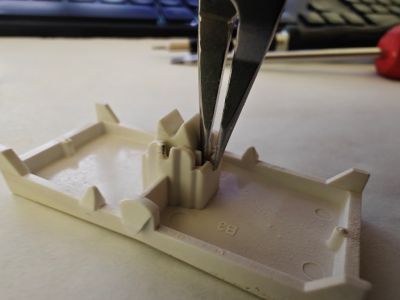 Remove the center and a spring. You can also just pull it out with large pliers - we’re going to mangle the poor thing anyway,
so you don’t have to be gentle here. The only thing we care about is the face of the rocker, so don’t damage it.
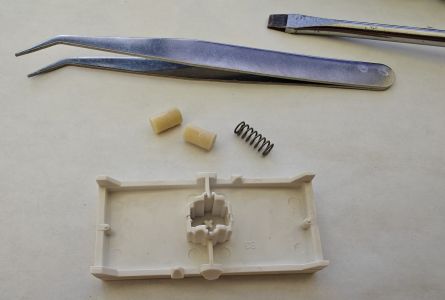
Discard the center piece, but keep the spring - you never know when it will save your day. Here are all the useful parts extracted:
Remove the center and a spring. You can also just pull it out with large pliers - we’re going to mangle the poor thing anyway,
so you don’t have to be gentle here. The only thing we care about is the face of the rocker, so don’t damage it.
Discard the center piece, but keep the spring - you never know when it will save your day. Here are all the useful parts extracted:
 For a regular switch there’s no need to remove it completely, just make sure it doesn’t interfere with the rest of the switch.
I prefer to make 2 cuts with a rotary saw in a V-shape and remove the middle:
For a regular switch there’s no need to remove it completely, just make sure it doesn’t interfere with the rest of the switch.
I prefer to make 2 cuts with a rotary saw in a V-shape and remove the middle:
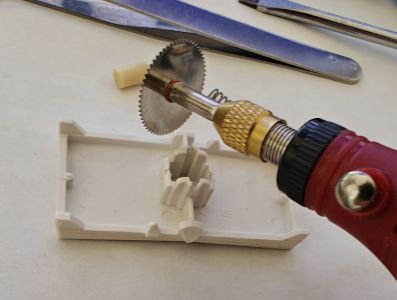
 If you plan to install a motion sensor, then the inner surface needs to be flattened. Make a series of cuts with the rotary saw
in a cross-hatched pattern:
If you plan to install a motion sensor, then the inner surface needs to be flattened. Make a series of cuts with the rotary saw
in a cross-hatched pattern:
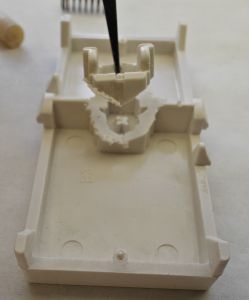
 and then crush it with pliers:
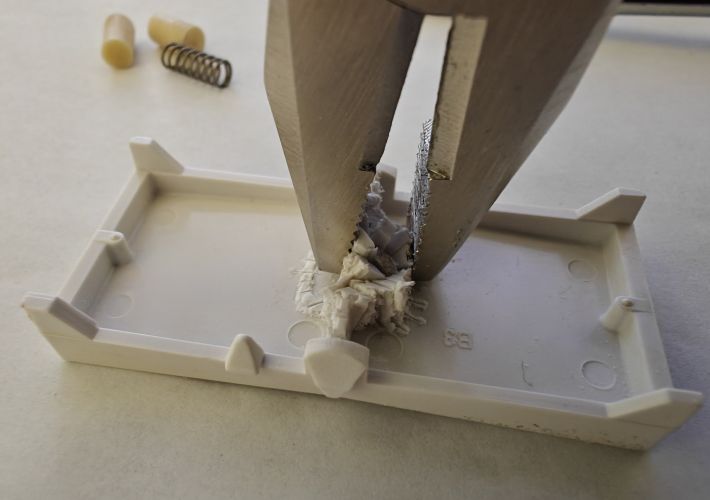
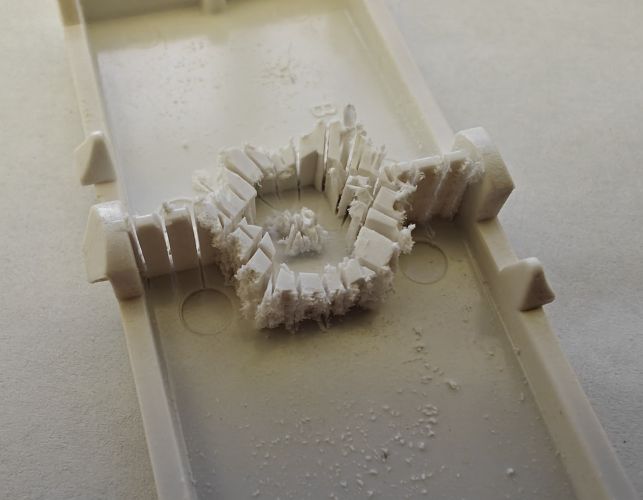
 Finally, clean it up with a straight hobby knife or a small chisel:
If you like the look of a switch with a status LED, you need to drill a hole in the switch rocker.
Use the switch drilling jig
to drill the hole in the right location. Insert the jig into the rocker and use the 5/32 (or 4 mm) diameter drill to make a hole.
 The jig works just fine for both types of rockers
regular and prepared for a motion sensor. I suggest to press the rocker against a flat sacrificial piece of wood to avoid
blowout on the front side.
The jig works just fine for both types of rockers
regular and prepared for a motion sensor. I suggest to press the rocker against a flat sacrificial piece of wood to avoid
blowout on the front side. 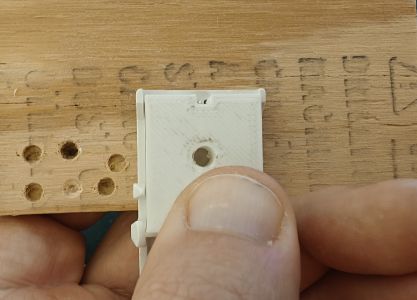 Deburr the hole carefully if needed, it needs to be flat and smooth on the front side. Clean up any debris.
Take a piece of matte scotch tape and apply it on the front side. Make sure there are no air bubbles around the hole.

 Use a plastic card or a fingernail if needed. Tape will contain the resin, while the adhesive will add a slight texture to the resin,
giving it a frosted appearance. Add a drop of UV resin in the hole. Shine the UV light to harden it.
Turn it over, remove the tape and shine the UV from the front for a good measure.
Use a plastic card or a fingernail if needed. Tape will contain the resin, while the adhesive will add a slight texture to the resin,
giving it a frosted appearance. Add a drop of UV resin in the hole. Shine the UV light to harden it.
Turn it over, remove the tape and shine the UV from the front for a good measure.
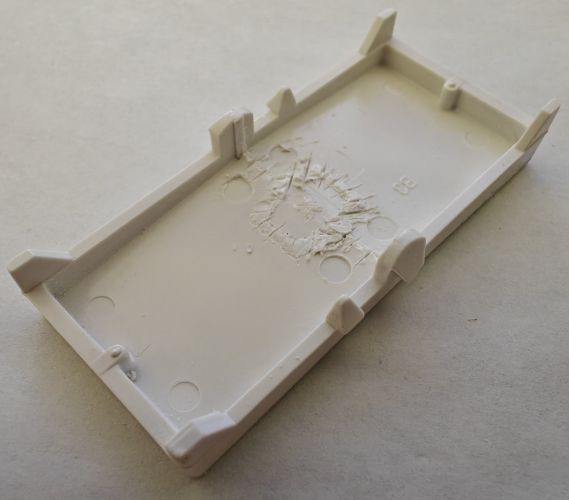
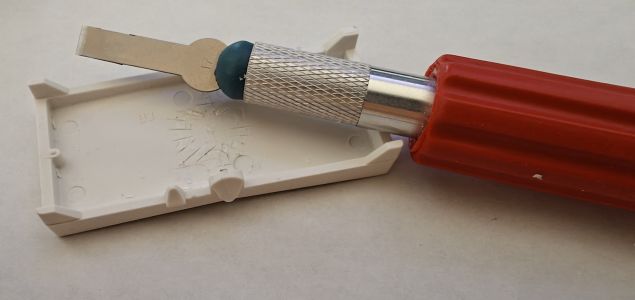
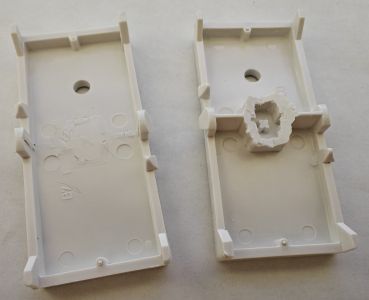
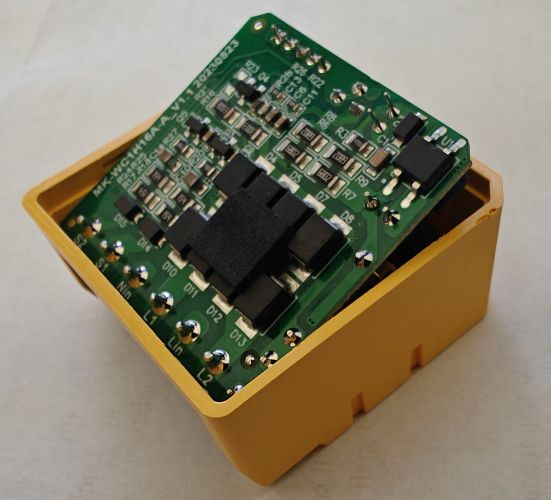
Smart switch boards
To extract the board from the housing you can either use a really thin screwdriver or a spudger to just pry the case apart:
Don’t worry about damage to the case - we will not need it anyway.
 Another option is to use an exacto-knife (or similar) to cut the clips on one side.
It really is enough to score them and they will give way:
Another option is to use an exacto-knife (or similar) to cut the clips on one side.
It really is enough to score them and they will give way:
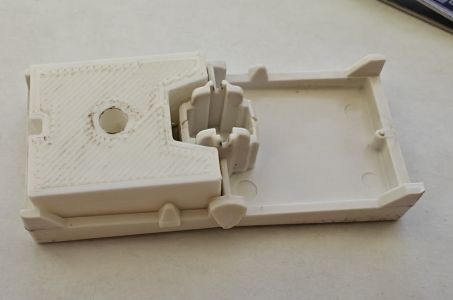
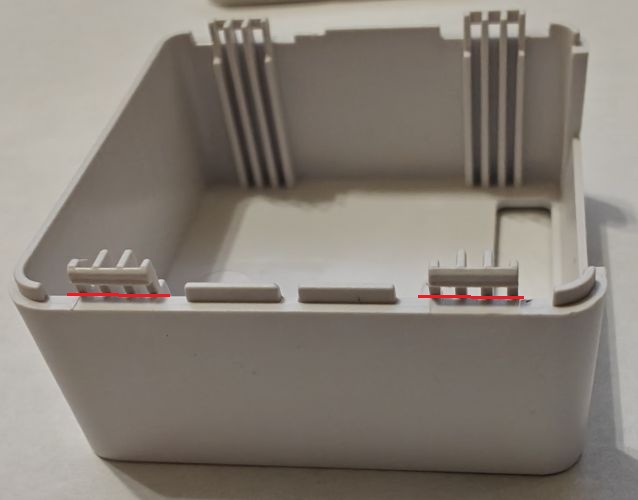 Open the case and slide the board out.
Dimmer boards
Dimmers have a different case construction.
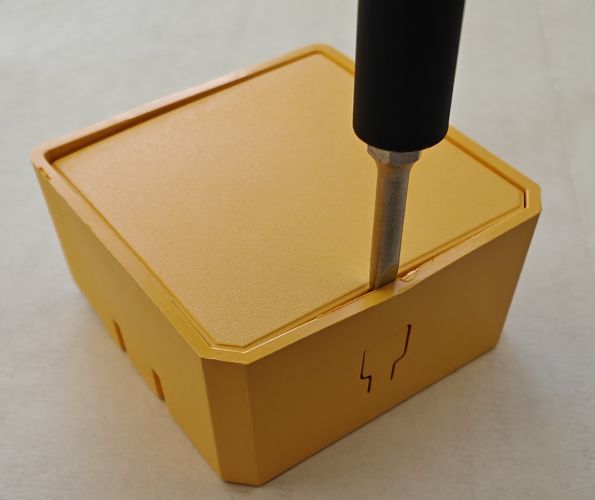
In order to open it with minimal chance of damaging the board I suggest to use a small screwdriver and squeeze it between the case and the lid just above the button:
 Then pry the lid open and remove it. Once it is done, pull the board out in a tilting motion:
 Don’t pull it out straight, it has to rotate around the connector block slightly.
Other teardowns